How to Use "Website Pixel Event" as a Flow Trigger in SendPulse for Your WhatsApp Bot
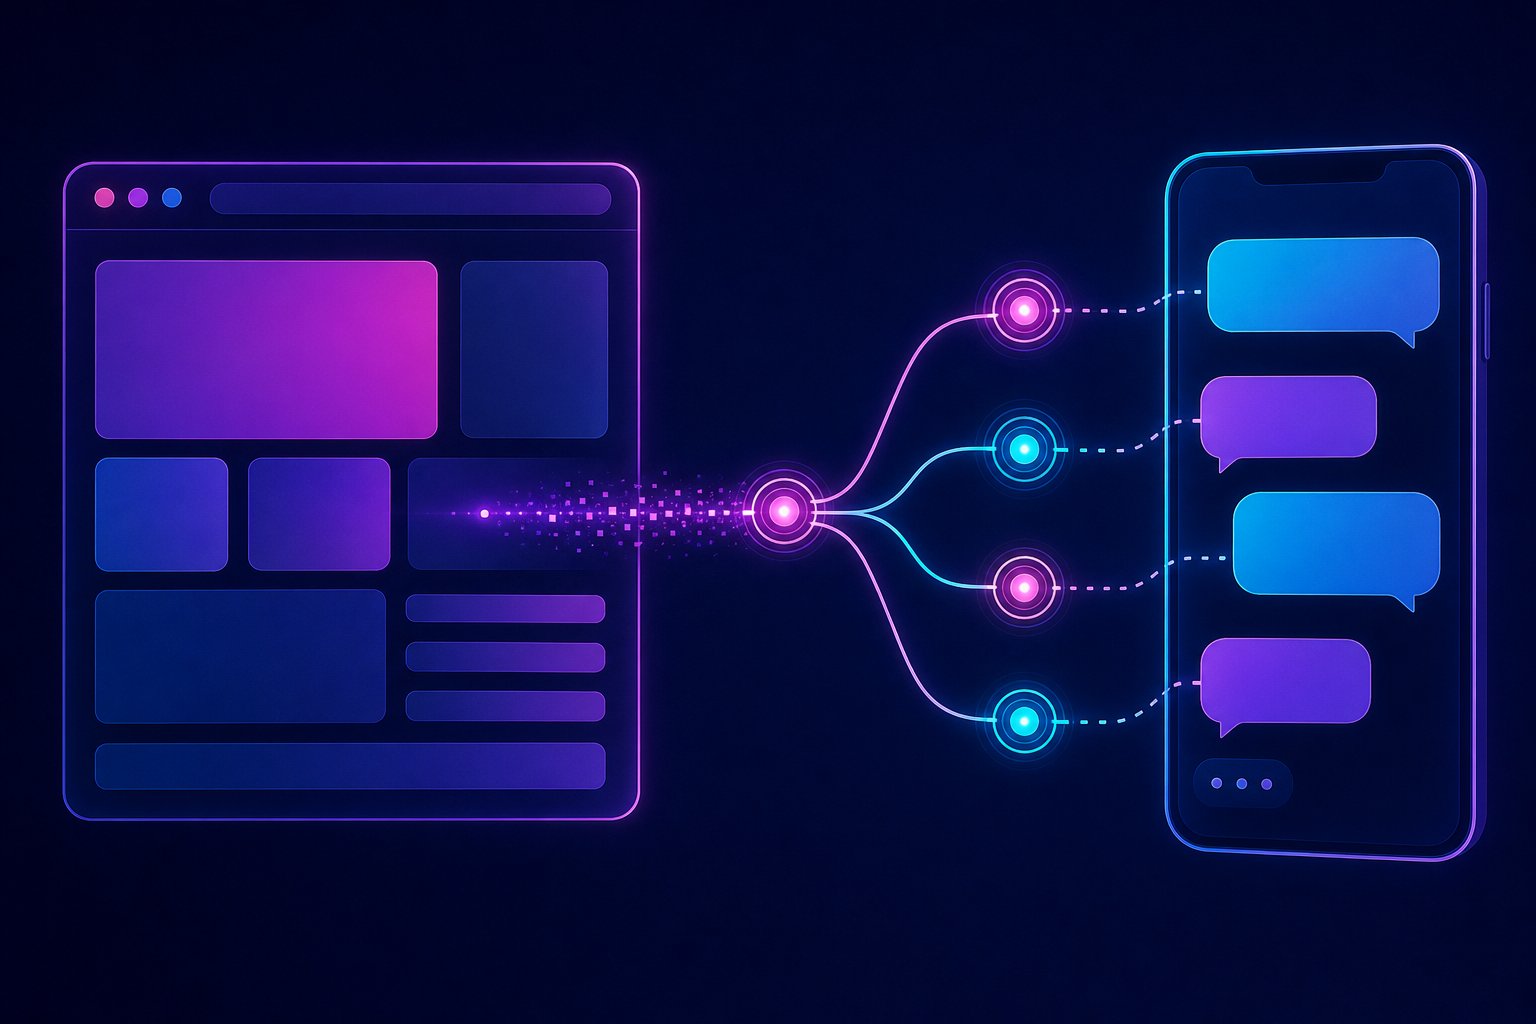
SendPulse just shipped a new trigger condition in its Automation module: Website Pixel Event. This lets you branch or start a WhatsApp bot flow depending on whether a user performed (or didn't perform) a specific action on your website within a given time window. No manual webhooks, no weird third-party integrations: the SendPulse pixel does the heavy lifting and your bot reacts accordingly.
This tutorial takes you from zero to production. You'll need access to a SendPulse account with WhatsApp connected, permission to edit your site's HTML, and the drive to stop leaving money on the table.
Prerequisites
- Active SendPulse account with a plan that includes Automation 360 and a connected WhatsApp bot.
- Edit access to your website's HTML/JS (or access to Google Tag Manager).
- At least one existing bot flow in SendPulse, even a test one.
- Users who have opted into your WhatsApp bot (without opt-in there's nobody to message — that hasn't changed).
- Node.js installed locally if you want to test events via script before deploying to production.
Step 1: Install the SendPulse Pixel on Your Site
Log into your SendPulse account and go to Automation → Website Pixel. Copy the base snippet they give you. It looks roughly like this:
<!-- SendPulse Pixel -->
<script>
  (function(d, w, id) {
    if (w[id]) return;
    var s = d.createElement('script');
    s.async = true;
    s.src = 'https://cdn.sendpulse.com/pixel.js';
    w[id] = true;
    d.head.appendChild(s);
    window.spPixelId = 'YOUR_PIXEL_ID_HERE';
  })(document, window, 'spPixelLoaded');
</script>
Paste it inside the <head> of all your site's pages. If you use GTM, create a Custom HTML tag and fire it on All Pages. Replace YOUR_PIXEL_ID_HERE with the ID SendPulse assigned you.
Production warning: Don't place this snippet after the closing </body> tag. While it technically works, pages with many scripts can create race conditions where the pixel doesn't load before the user leaves the page. In <head> with async is the correct approach.
Step 2: Register Custom Events on Your Site
The base pixel only tracks page views. For specific conditions (completed registration, purchase, pricing button click), you need to fire named events. The syntax is:
// Completed registration event
window.spq = window.spq || [];
window.spq.push(['track', 'CompleteRegistration', {
email: 'user@example.com', // optional but very useful for matching
value: 0,
currency: 'USD'
}]);
Place this code right after the user completes the action. For example, in the success callback of your registration form:
document.getElementById('register-form').addEventListener('submit', function(e) {
  // Your submission logic...
  fetch('/api/register', {
    method: 'POST',
    body: JSON.stringify(formData)
  })
  .then(res => res.json())
  .then(data => {
    if (data.success) {
      // Fire the event to SendPulse pixel
      window.spq = window.spq || [];
      window.spq.push(['track', 'CompleteRegistration', {
        email: formData.email
      }]);
    }
  });
});
The most common event names SendPulse recognizes by default: ViewContent, AddToCart, Purchase, CompleteRegistration, Lead. You can also use custom names like 'DownloadedCatalog' or 'ViewedProPricing'.
Step 3: Verify Events Are Arriving
Before building the flow, confirm the pixel is receiving data. Go to Automation → Website Pixel → Events in your SendPulse dashboard. You should see a log of events fired in the last few hours. If you see nothing after testing on your site, check:
- That
spPixelIdis correct. - That you don't have an ad blocker active in your test browser (use a clean Chrome profile).
- That the pixel script loads before you execute the
spq.push. Validate withconsole.log(window.spPixelLoaded)— it should returntrue.
Step 4: Create or Edit Your WhatsApp Flow with the "Website Pixel Event" Condition
Now the good part. Go to Automation 360 → Flows and open the flow you want to modify (or create a new one).
- Add a node of type Condition.
- In the condition type selector, choose "Website Pixel Event".
-
Configure the parameters:
- Event: select the event name you registered (e.g.,
CompleteRegistration). - Time window: how many days back to look. For registration confirmations, 1 day is enough. For abandoned cart recovery, 7 days makes more sense.
- Occurred / Did not occur: decide whether the "Yes" branch is for users who DID fire the event or who DIDN'T.
- Event: select the event name you registered (e.g.,
-
Connect the branches:
- Yes branch → Registration confirmation message (or whatever fits your case).
- No branch → Reminder or follow-up message.
Example of a complete flow for registration confirmation:
[Trigger: New bot subscriber]
        ↓
[Wait: 10 minutes]
        ↓
[Condition: Website Pixel Event]
  → CompleteRegistration | last 24h | Occurred
        ↓ YES                         ↓ NO
[Message: "You're registered!    [Message: "Hey, we saw you
Here's your access link..."]     started registering —
                                 need help?"]
Step 5: User Matching — The Critical Point
SendPulse matches the pixel user to the WhatsApp contact primarily by email address. If you pass the email in the pixel event and that email is registered on the WhatsApp contact, the system links them automatically.
If your users don't have an email associated in the bot, matching fails silently and the condition always falls into "Did not occur." To prevent this:
- At the WhatsApp opt-in moment, ask for the email through a bot question and save it as a contact variable.
- Make sure you pass that same email in the pixel events.
Production warning: Matching is not instantaneous. There's a latency of between 2 and 15 minutes between when the event reaches the pixel and when it's available for evaluation in the flow. Don't build flows that require reaction in less than 5 minutes based on this trigger — you'll get false negatives.
Step 6: Test in Staging Before Production
Create a test version of the flow with your own WhatsApp number as the contact. Fire the event manually from the browser console, wait 10 minutes, and verify the flow took the correct branch. Check the flow execution history in SendPulse to see exactly what the condition evaluated.
Real Use Cases for osky.dj and Similar Projects
- Event registration confirmation: user fills out the form on your site → bot confirms via WhatsApp with the access link.
- Cart recovery: user added to cart but didn't purchase in 24h → bot sends a reminder with a discount.
- Post-download follow-up: user downloaded your catalog → bot asks if they have questions after 2 days.
- Smart upsell: user visited the Pro pricing page more than once → bot offers a personalized demo.
Final Warnings
- Ad blockers and private browsing mode will prevent the pixel from firing. Assume a capture rate of 70–85% at best, not 100%.
- GDPR/LGPD: if you have users in Europe or Brazil, you need explicit consent before activating the pixel. Integrate with your cookie consent banner.
- Don't use this condition as the sole criterion for critical messages (like access links or passwords). Use it for personalization and marketing, not security flows.
- Check your SendPulse plan limits: Automation 360 with advanced conditions is not available on all tiers.