
Connect the SendPulse API to Your WhatsApp Chatbot Without Writing Code
SendPulse just properly documented something many developers were half-using and half-afraid of: the ability to make HTTP requests directly from the visual chatbot builder, without touching a single line of code. For anyone running WhatsApp bots in production, this changes things. You no longer need an intermediate webhook in n8n, Make, or Zapier just to query an external API. You can do it straight from the bot flow, condition it, save the response into variables, and use those variables in the next message. This tutorial walks you through exactly how to do it — from initial setup to the mistakes you will definitely make the first time and how to survive them.
Requirements Before You Start
- An active SendPulse account (paid plan; the free tier has restrictions on advanced automations)
- A WhatsApp Business number connected to SendPulse (via Meta's official API or native integration)
- An external API endpoint you want to connect to — your own backend, Airtable, Google Sheets via API, a CRM, whatever
- Knowledge of which HTTP method you need: GET, POST, PUT, etc.
- The authentication headers for that API ready to go (Bearer token, API key, or whatever applies)
If you don't have the number connected yet, that's step zero. No shortcuts.
Step 1: Open the Bot Flow Builder
In the SendPulse dashboard, go to Chatbots → WhatsApp → your bot → Flows. Open the flow where you want to insert the API call, or create a new one. The builder is visual, node-based. You're going to add a new block.
Step 2: Add the "API Request" Block
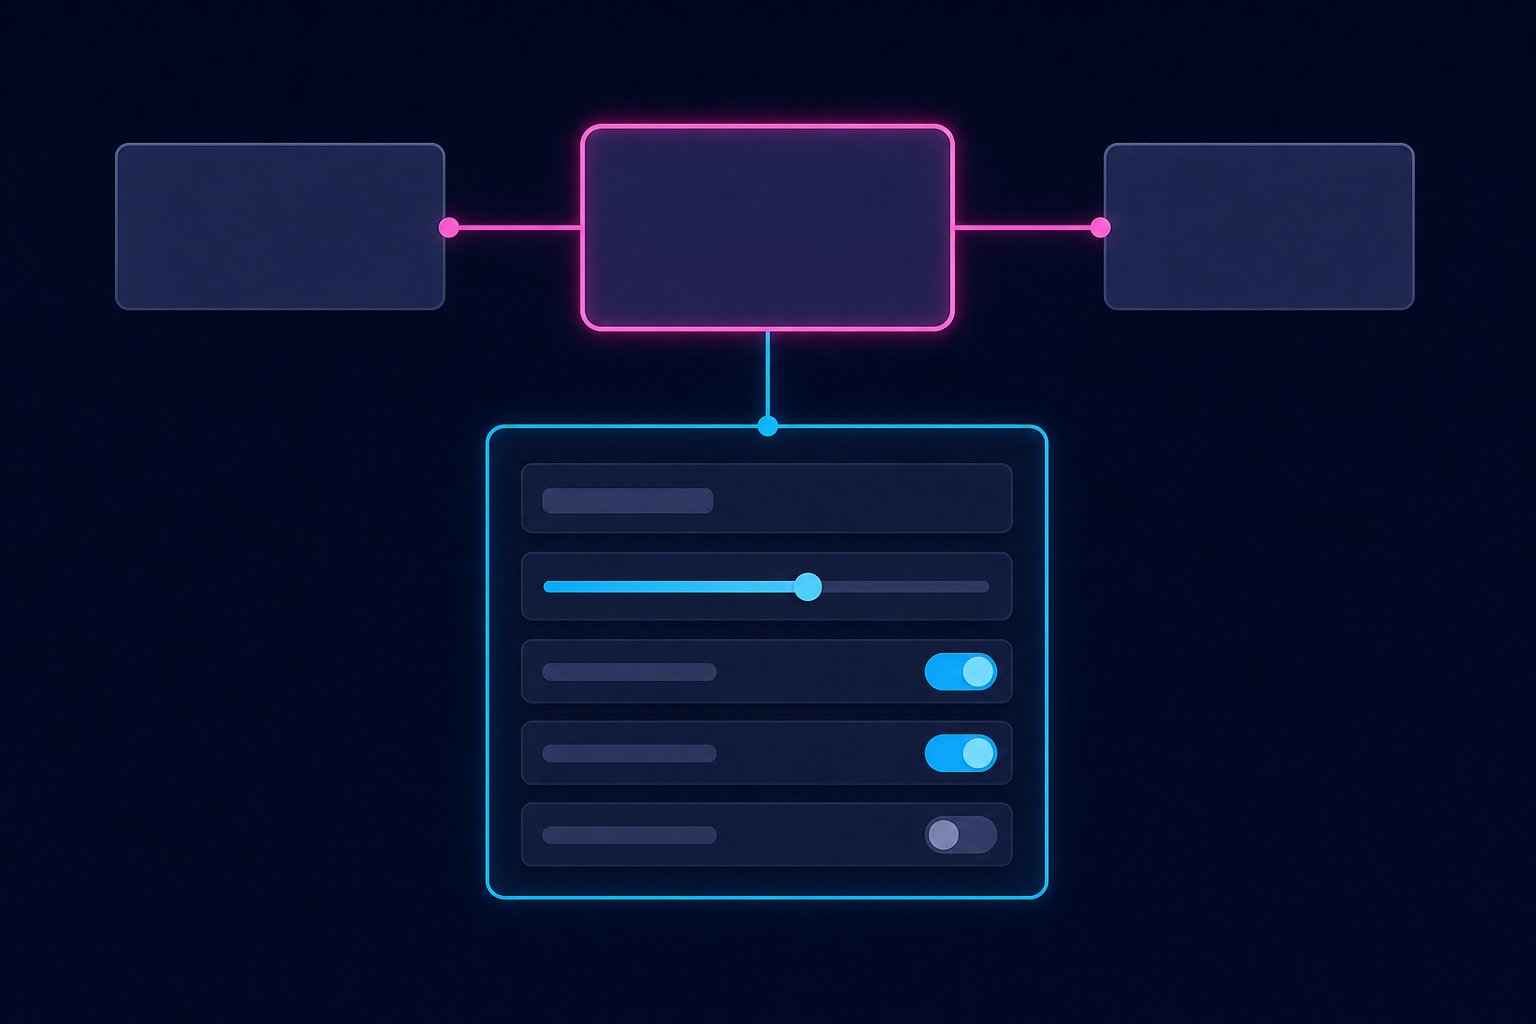
Inside the flow, click the "+" button to add an element. Look for the "API Request" option. This block is the heart of the whole tutorial.
Configure the fields:
- URL: the full endpoint you're calling. Example:
https://api.yourservice.com/v1/customers/{{contact.phone}} - Method: GET, POST, PUT, or DELETE
- Headers: this is where your auth tokens go
Example header for a Bearer token API:
Authorization: Bearer YOUR_TOKEN_HERE
Content-Type: application/json
- Body (POST/PUT only): the JSON you're sending. You can use bot variables with the
{{variable_name}}syntax.
Example body:
{
  "phone": "{{contact.phone}}",
  "name": "{{contact.name}}",
  "order_id": "{{variable.order_id}}"
}
Step 3: Map the Response to Bot Variables
Here's where it gets genuinely useful. SendPulse lets you take specific fields from the JSON response and save them as local contact variables. In the "Save response to variable" section, you define the field path in the response and the variable name where you want to store it.
Say your API responds with this:
{
  "status": "active",
  "balance": 350.00,
  "last_order": "2026-07-10"
}
You set up three mappings:
| Response path | Bot variable |
|---|---|
status |
customer_status |
balance |
customer_balance |
last_order |
last_order |
After the block executes the call, those variables are available in any message or condition that follows in the flow.
Step 4: Use the Variables in Messages and Conditions
You have the data. Now use it. In the next message block you can write:
Hi {{contact.name}}, your account is {{customer_status}} and your current balance is ${{customer_balance}}.
And if you want to branch the flow based on the response, add a "Condition" block after the API Request:
- If
customer_statusequalsactive→ branch A (offer the service) - If
customer_statusequalssuspended→ branch B (send payment reminder)
This is what turns a glorified FAQ bot into an actual customer service system.
Step 5: Error Handling — Do Not Skip This
SendPulse lets you define what happens if the call fails (timeout, 4xx, 5xx). The API Request block has an "Error" branch in addition to the success branch. Always connect it to something. In production, APIs fail. If you leave the error branch disconnected, the user gets silence and you get nothing.
Recommended options for the error branch:
- Send a generic message: "We had trouble retrieving your information, please try again in a few minutes."
- Save
api_error = trueto a variable and escalate to a human agent - Send an internal notification (via another API Request to your alerting system or Slack)
Step 6: Test in Sandbox Mode Before Going Live
SendPulse has a test mode for flows. Use it. Send test messages from your own number and review the API Request block logs. You'll see exactly what was sent, what the server responded, and what got saved to variables. If something fails, the log tells you whether it was an auth error (401), resource not found (404), or malformed JSON on your end.
Production Warnings Nobody Tells You
Timeouts: SendPulse has a time limit for external API responses. If your backend takes more than 10 seconds, the block fails. Optimize your endpoints or implement an async response pattern.
Sensitive data in variables: Contact variables in SendPulse are not a secure vault. Do not store tokens, passwords, or card data there. Only operational data.
Rate limits on your external API: If you have thousands of users all triggering the same flow simultaneously, you'll hammer your API. Make sure your backend can handle it or implement caching.
Variables that don't populate: If the field path in the JSON response is wrong (wrong casing, typo, misreferenced nested structure), the variable stays empty and the user's message shows literal {{customer_balance}}. Embarrassing and completely avoidable.
Nested fields: For nested fields in the JSON response, use dot notation. If the response is {"customer": {"balance": 350}}, the path is customer.balance.
Real-World Use Cases Where This Shines
- Querying order status in your e-commerce platform directly from the bot
- Checking if a phone number is registered in your database before responding
- Creating a CRM record when a user completes a conversational form
- Checking appointment availability in a scheduling system
- Validating a discount code against your backend
Conclusion
The API Request integration in SendPulse without code is genuinely useful if you know what you're doing. It doesn't replace a well-built backend, but it eliminates a lot of unnecessary middleware for common use cases. Configure your error handling properly, test with real data, and don't leave sensitive variables floating around. With that, you have a WhatsApp bot that talks to the outside world without you having to write a single fetch().